How Jordan Helped Kim Pull Off a Last-Minute Zombie Transformation for Halloween
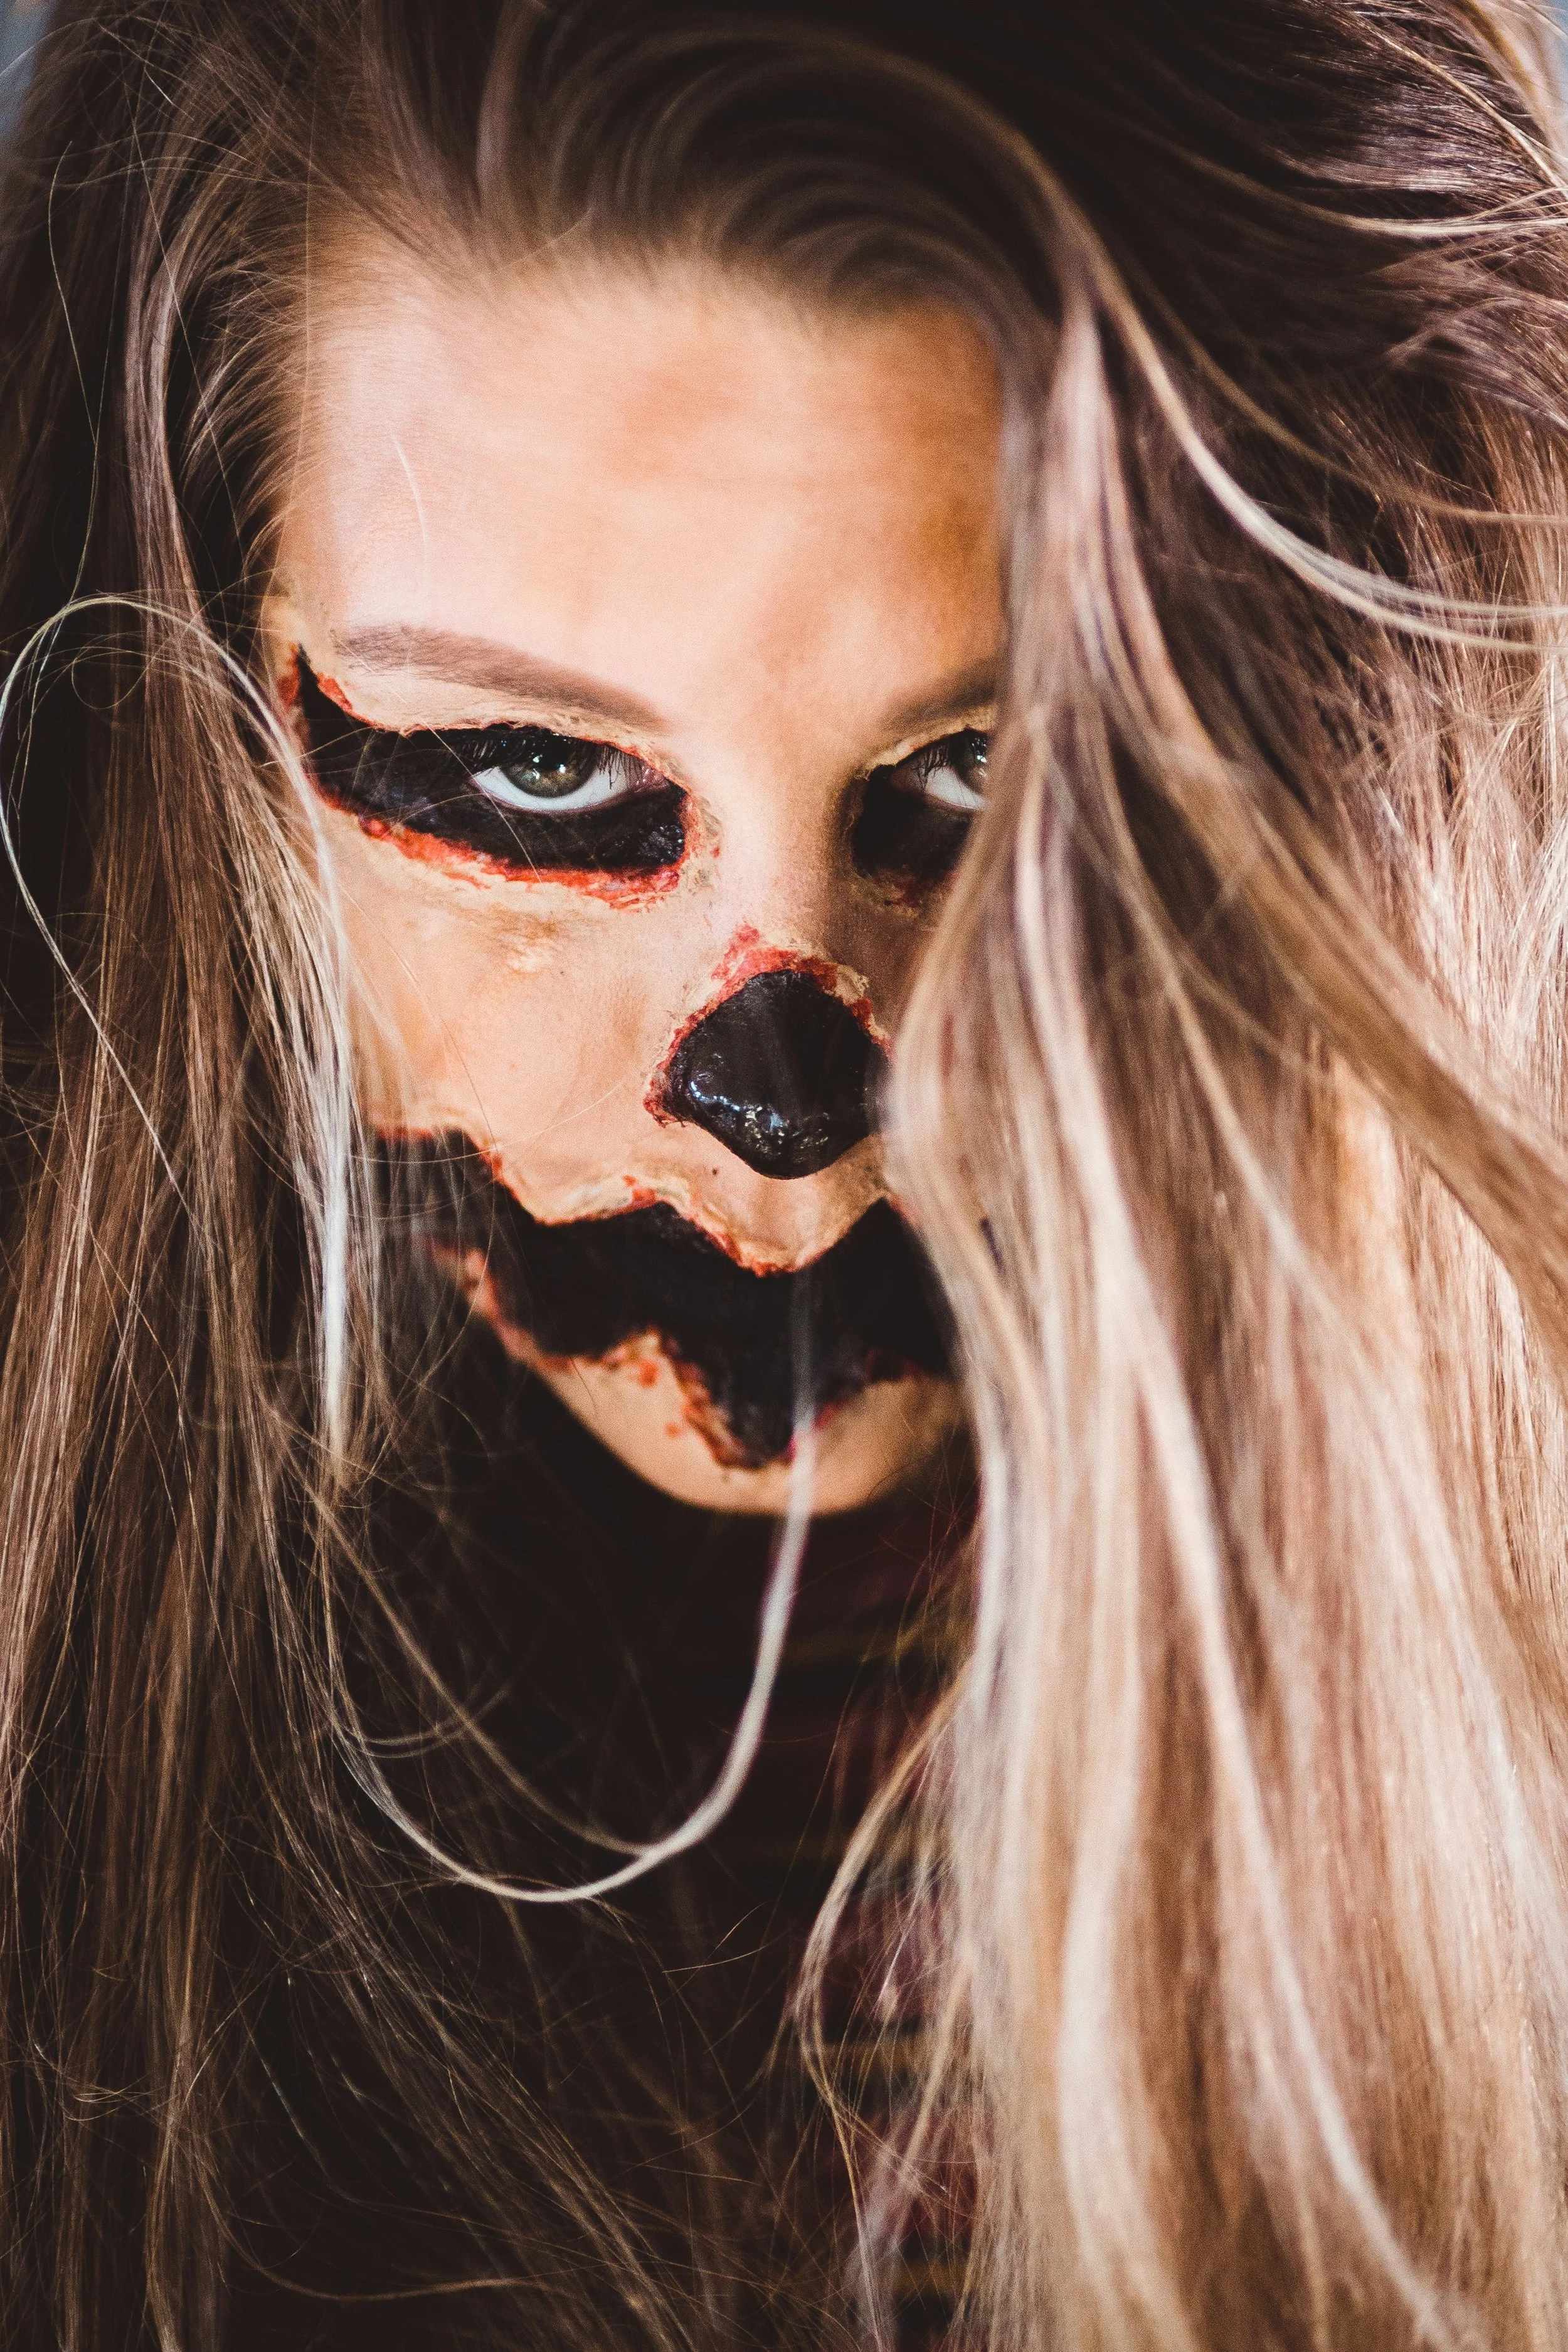
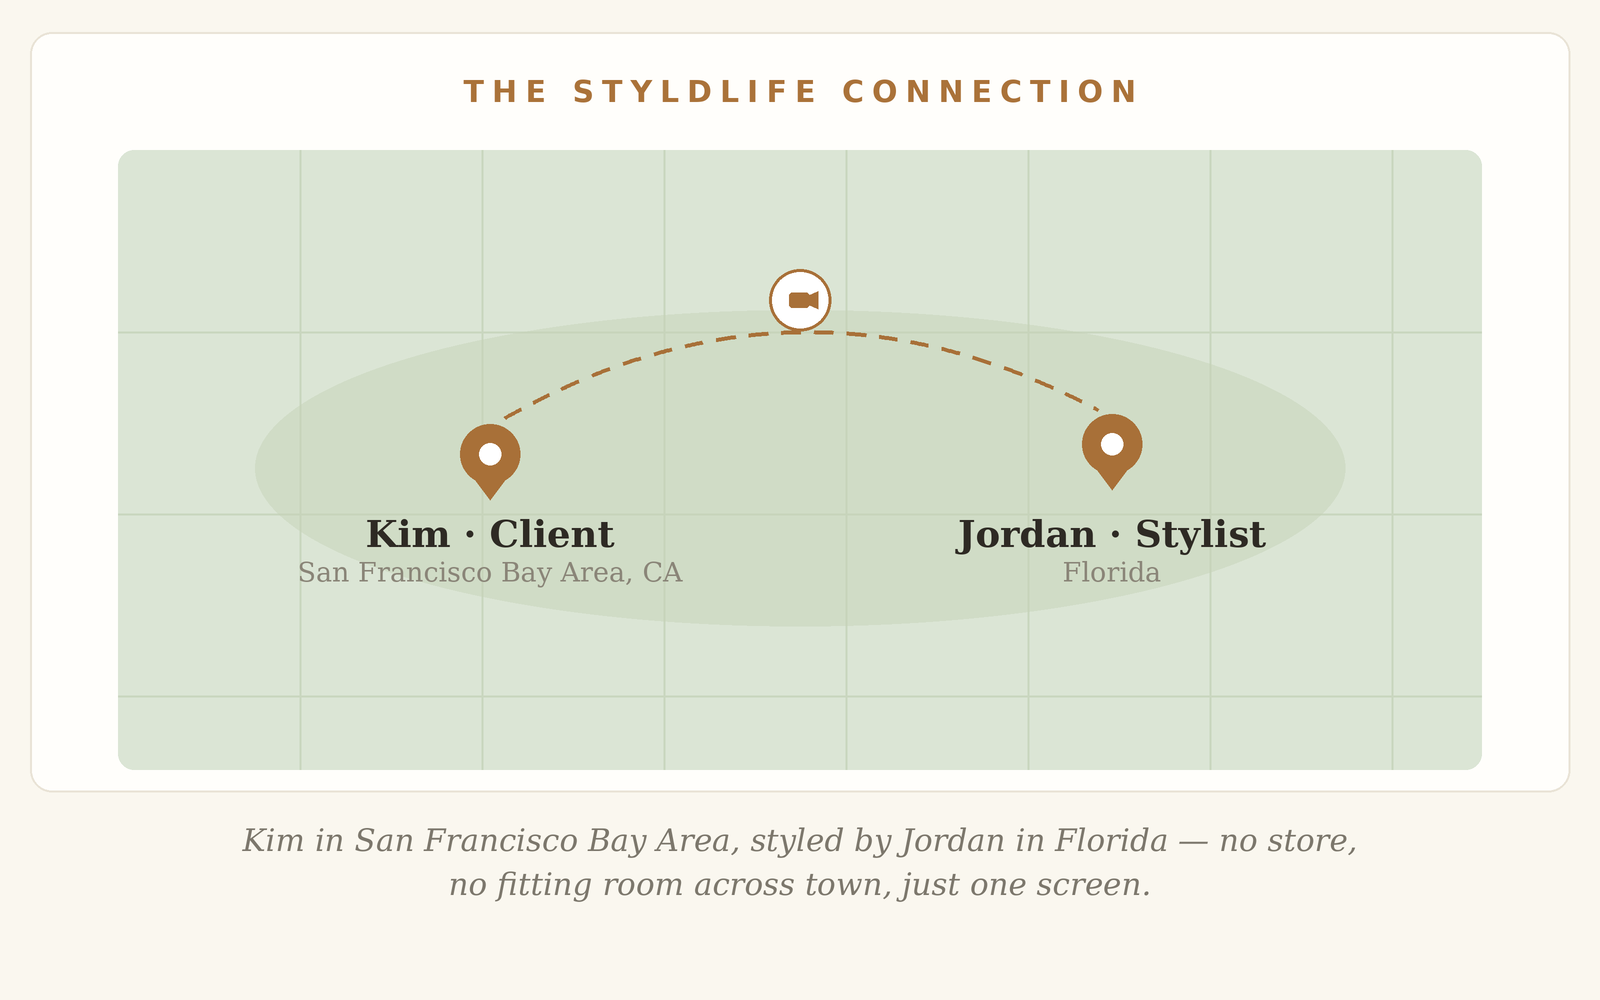
Zombie makeup forgives almost everything — which is exactly why it’s the best rescue costume for someone who ran out of October. Kim had a zombie apocalypse party that night, a full plate at work, and, by her own admission, zero plans. “I’ve just been swamped. So I have made zero plans,” she said, twenty minutes before the session started. What she got instead was a full, professional breakdown of how a face becomes undead — sallow base, sunken bones, decaying detail — from Jordan, then a StyldLife makeup artist based in Florida, guiding Kim through her own bathroom mirror three thousand miles away.
Building a Face That’s Starting to Decay
Jordan started with the same water-activated pigments she uses professionally — a special-effects line called Mehron — mixing a green, a white, and a touch of yellow into a sallow, sickly base. Rather than sweeping color on with a brush, she had Kim stamp it in with a damp makeup sponge. “The benefit of padding versus sweeping,” Jordan explained, “is you want to kind of deposit the color — sweeping can create some unevenness.” Pat, pat, pat, down the face, into the ears, along the neck, so there was no visible line where the “zombie” stopped and the person began.
From there, the whole look was built on bone structure. Jordan worked in white first — along the cheekbones, up the bridge of the nose, above the brow — to project the skull forward, then layered in grays and browns from an eyeshadow palette to carve shadow into the temples, the eye sockets, the hollow beneath the cheek. “Everything we normally try to hide, we’re highlighting,” she said, working the color deep under Kim’s eyes. “This is their night to shine.” It’s the inverse of every contouring tutorial Kim had ever watched — and it was, unexpectedly, one of the most useful beauty lessons in the session: she now understands her own bone structure well enough to shade it, in either direction.
Jordan was also careful to make the technique work for any skin tone, not just her own. For deeper complexions, she explained, the same base logic holds — white mixed with brown and a little yellow, never straight white-to-black, “because that just goes gray, and gray reads more ghost than zombie.” It’s a small note, but it’s the kind of detail that separates an actual makeup artist from a YouTube tutorial.
The Practical Stuff Nobody Tells You
The best advice wasn’t about the makeup at all — it was about surviving the party. “I would bring a straw,” Jordan said, when Kim asked how the paint would hold up through dinner and drinks. Eat beforehand if you can, sip through a straw, and pack a small touch-up kit for the lips. She also flagged the detail most people skip entirely: ears. “It really helps tie the whole look together,” she said, dabbing brown into Kim’s ear with the same brush she’d used on her jaw. And for anyone without a professional kit on hand, her drugstore substitutes were just as specific — a Maybelline setting spray, a neutral eyeshadow palette from Walgreens, a translucent powder to lock everything down before it could smudge.
By the end, Kim had bone-deep shadowing, a decaying jawline, and a hairstyle that required exactly zero effort — Jordan’s only hair note was “messy is the whole point.” More than that, she had a real technique she could repeat solo next year, no video call required. As Jordan put it, watching the transformation finally click into place: “Trust the process. At the very beginning you’re like, oh, I’m not seeing it — and then it just starts to come through.”
Ready to build a look of your own — Halloween or otherwise? Explore Virtual Makeup Styling →
This story reflects a real, paid StyldLife client session. To protect our client’s privacy, the client is not pictured and identifying details have been omitted.